ms-robotics-resources.github.io
NavX Intro

The NavX is what we mainly use to have field centric drive. We specifically use the NavX2 Micro and you can see it on the left-hand side of our robot from last year!
The NavX is essetially just a gyroscope and a accelorometer combined. Or as their website says, it’s “a second-generation 9-axis inertial/magnetic sensor and motion processor.”
Last year, we found out the the NavX can get disoriented and sometimes needs to be recalibrated, so if thats what you’re trying to do, then you’re in the right place!
THE APPLICATION USED IN THIS PAGE IS FOR WINDOWS ONLY
NavX Diagram
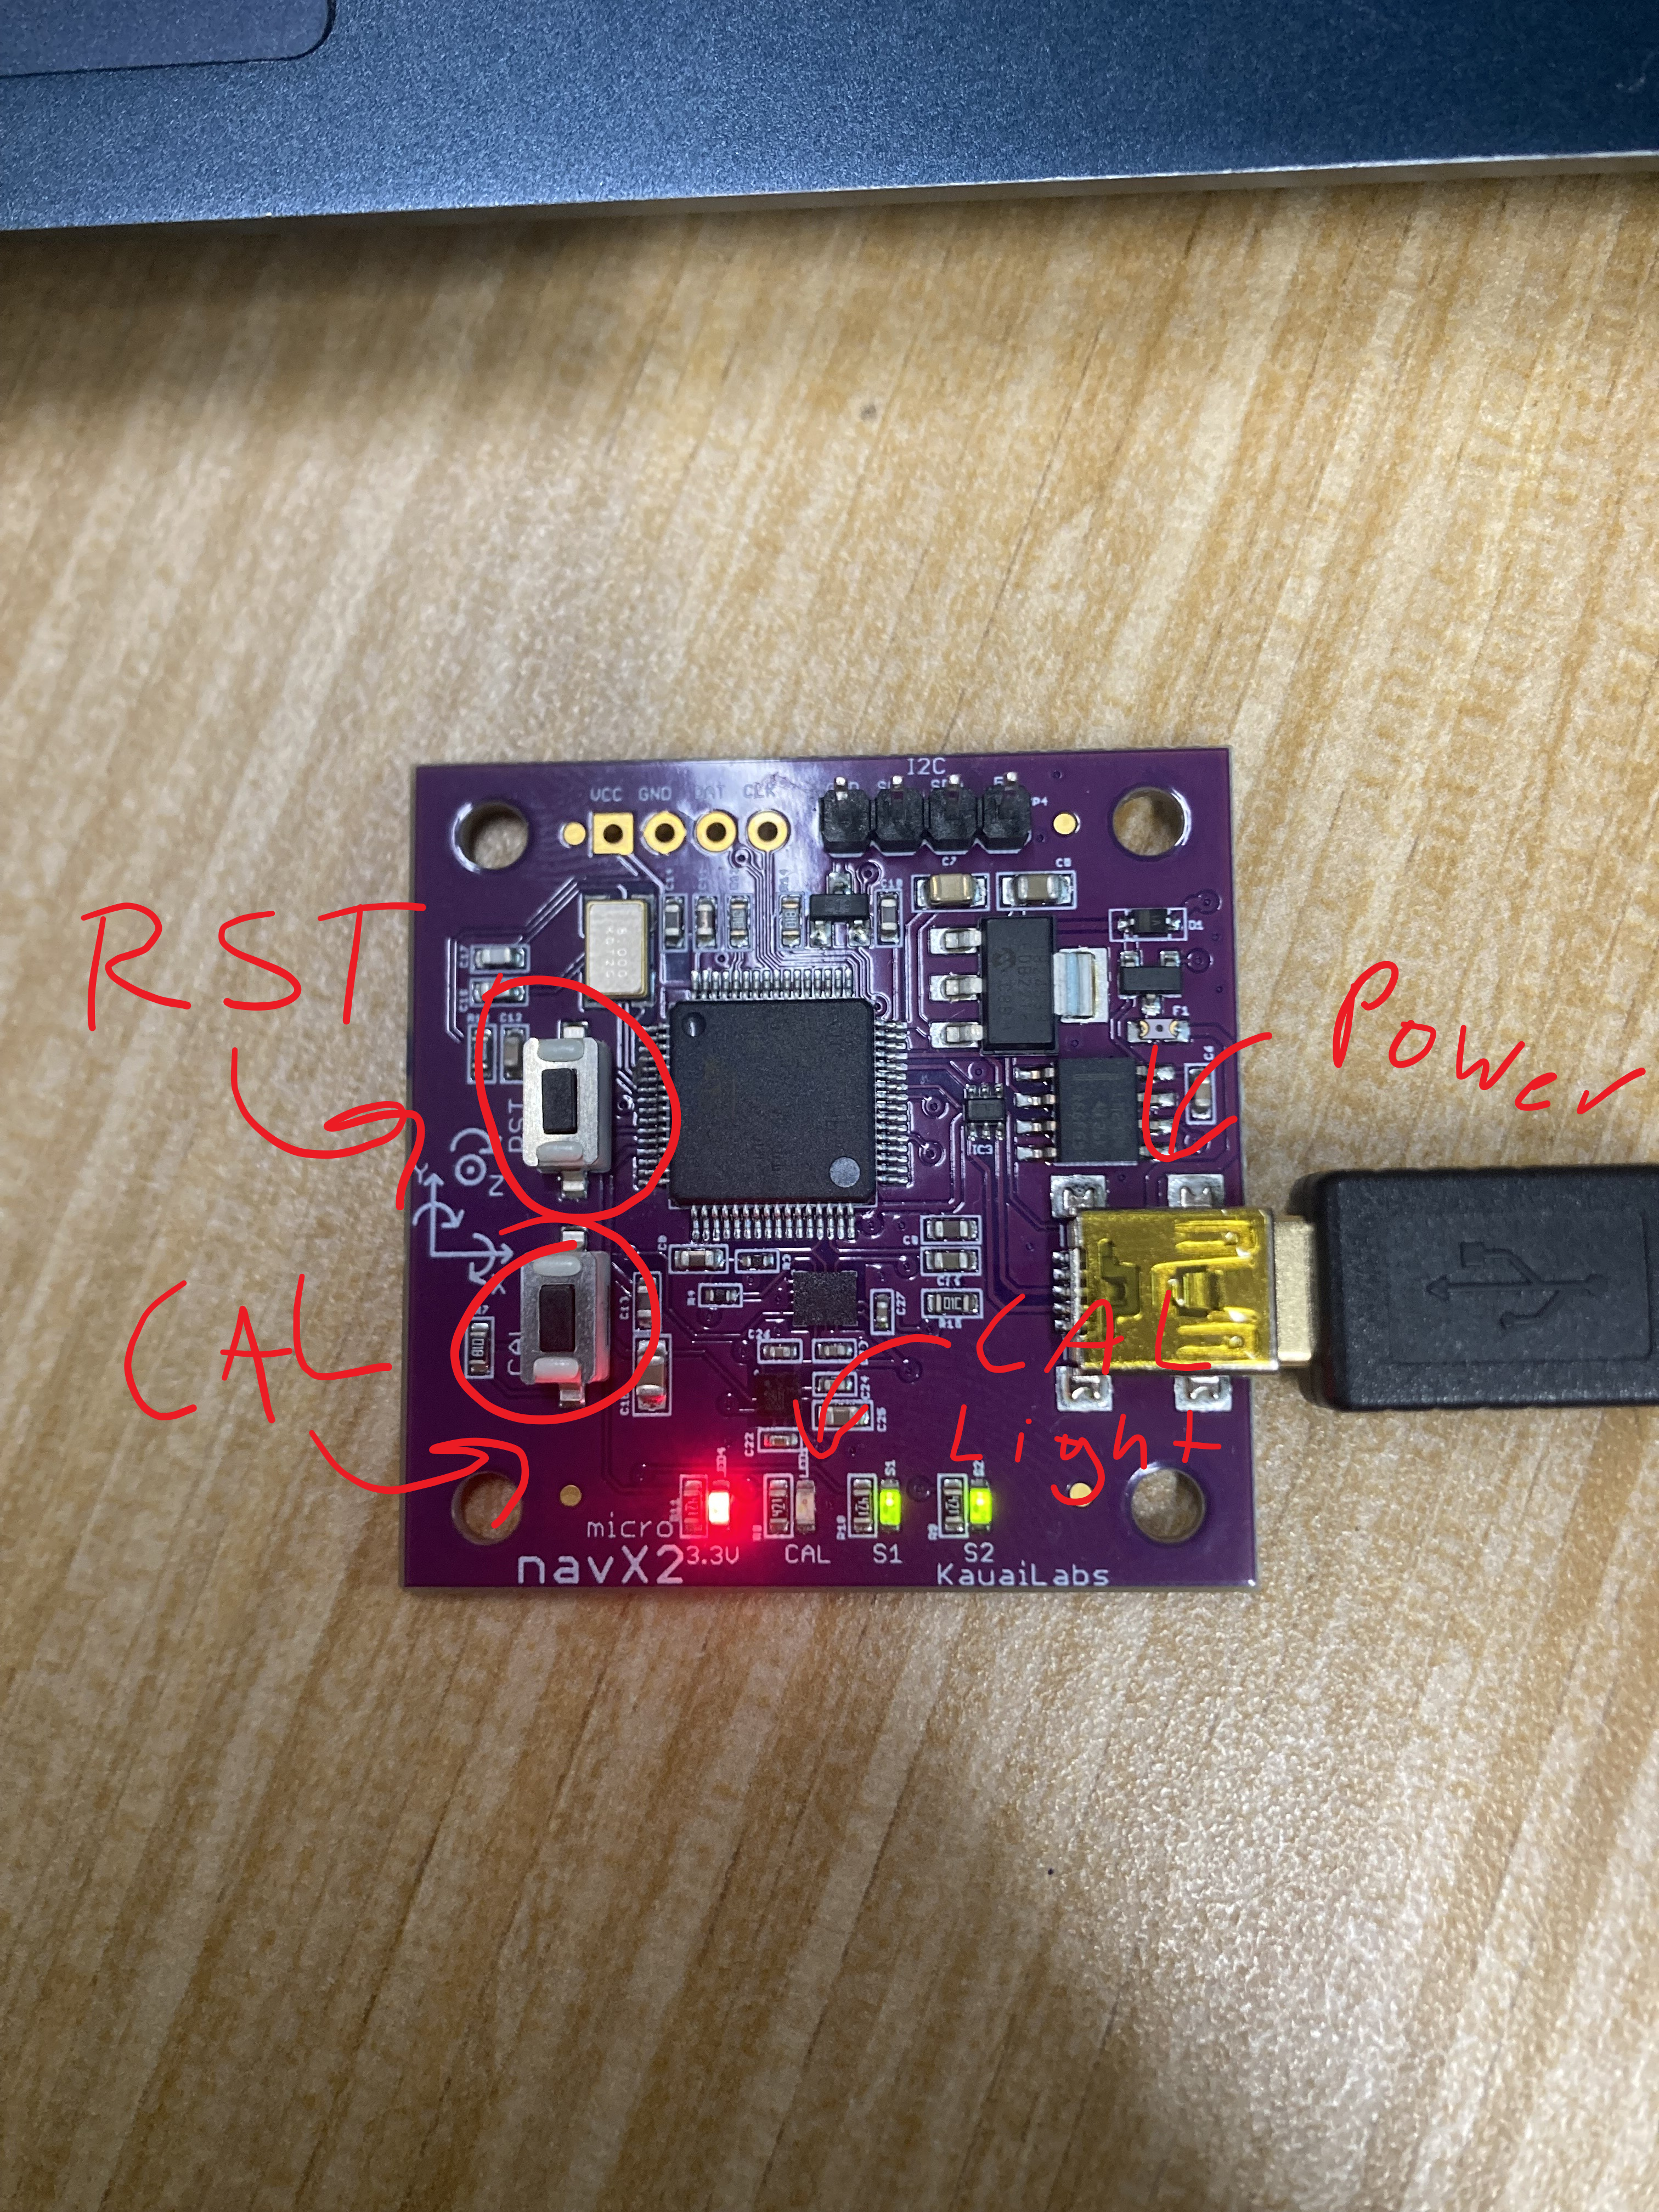
This is the NavX! I’ve labeled the important things you will be using in this page. The two buttons on the side are the RST (Reset) and CAL (Calibrate) buttons. The lights on the bottom show the status of the NavX.
NavX Calibration
To calibrate the NavX you’re going to need to download the NavX UI.
First go to https://pdocs.kauailabs.com/navx-micro/software/navx-ui/, and click the large purple download button on the right. \
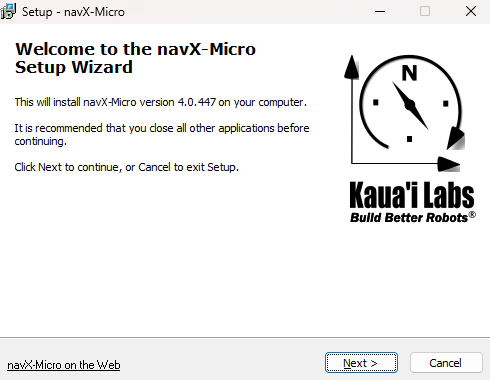
It should start to download a .zip file. Wait for it to finish downloading and open it. Unzip the .zip file, and then run the setup.exe file.
If Windows warns you about running the file, ignore it <3. Then follow the instructions on screen to install the software. Allow the software to install the Driver as well! \
After the software has installed, you can launch it! If you don’t know how to launch it, go to this page on how to launch files with no shortcut.
Specifically, you should launch the NavX UI as an administrator. When the software launches, plug in the NavX into one of the USB-A ports.
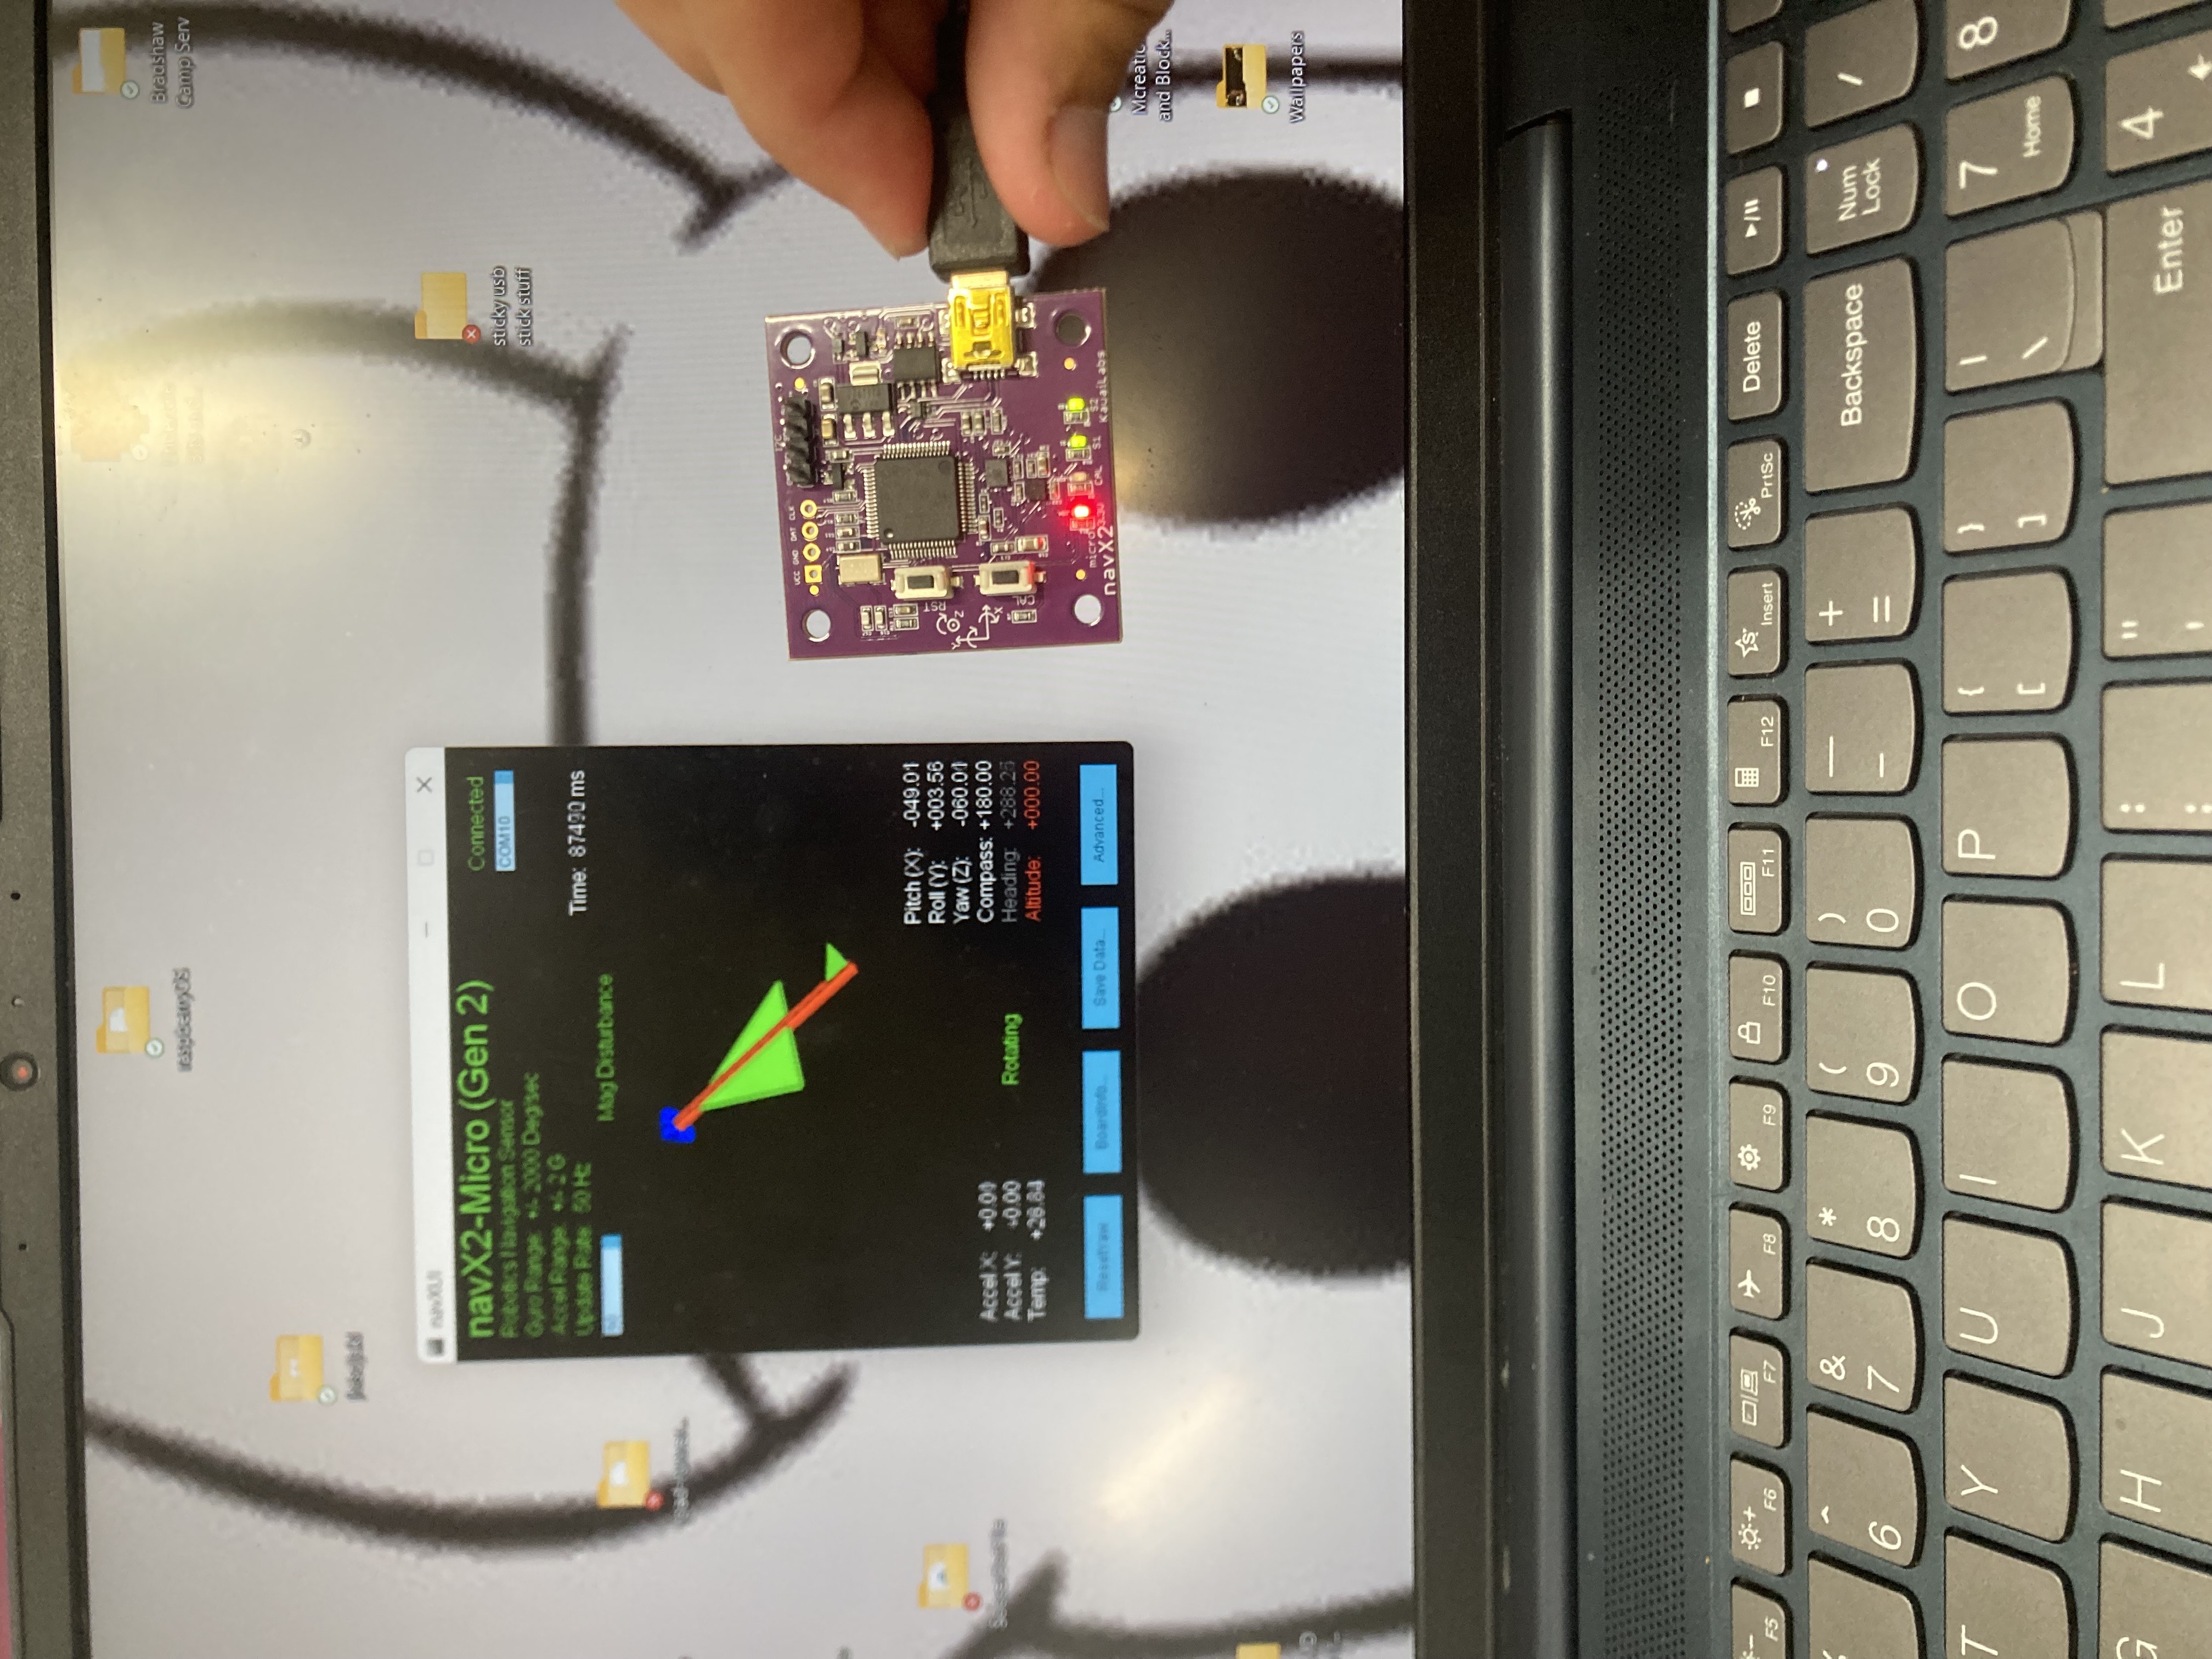
The software should automatically detect that something is plugged into the USB port. You should now see an arrow/weird looking plane of a couple colours apear. You might notice that if you move the NavX, so does the arrow. If the NavX isn’t properly calibrated the arrow should move weirdly. Try keeping the NavX as still as possible and turn it forward on one face. If the arrow doesn’t roll to the side or tilt forward or backward, then its most likely inproperly calibrated.\
This is an uncalibrated NavX:
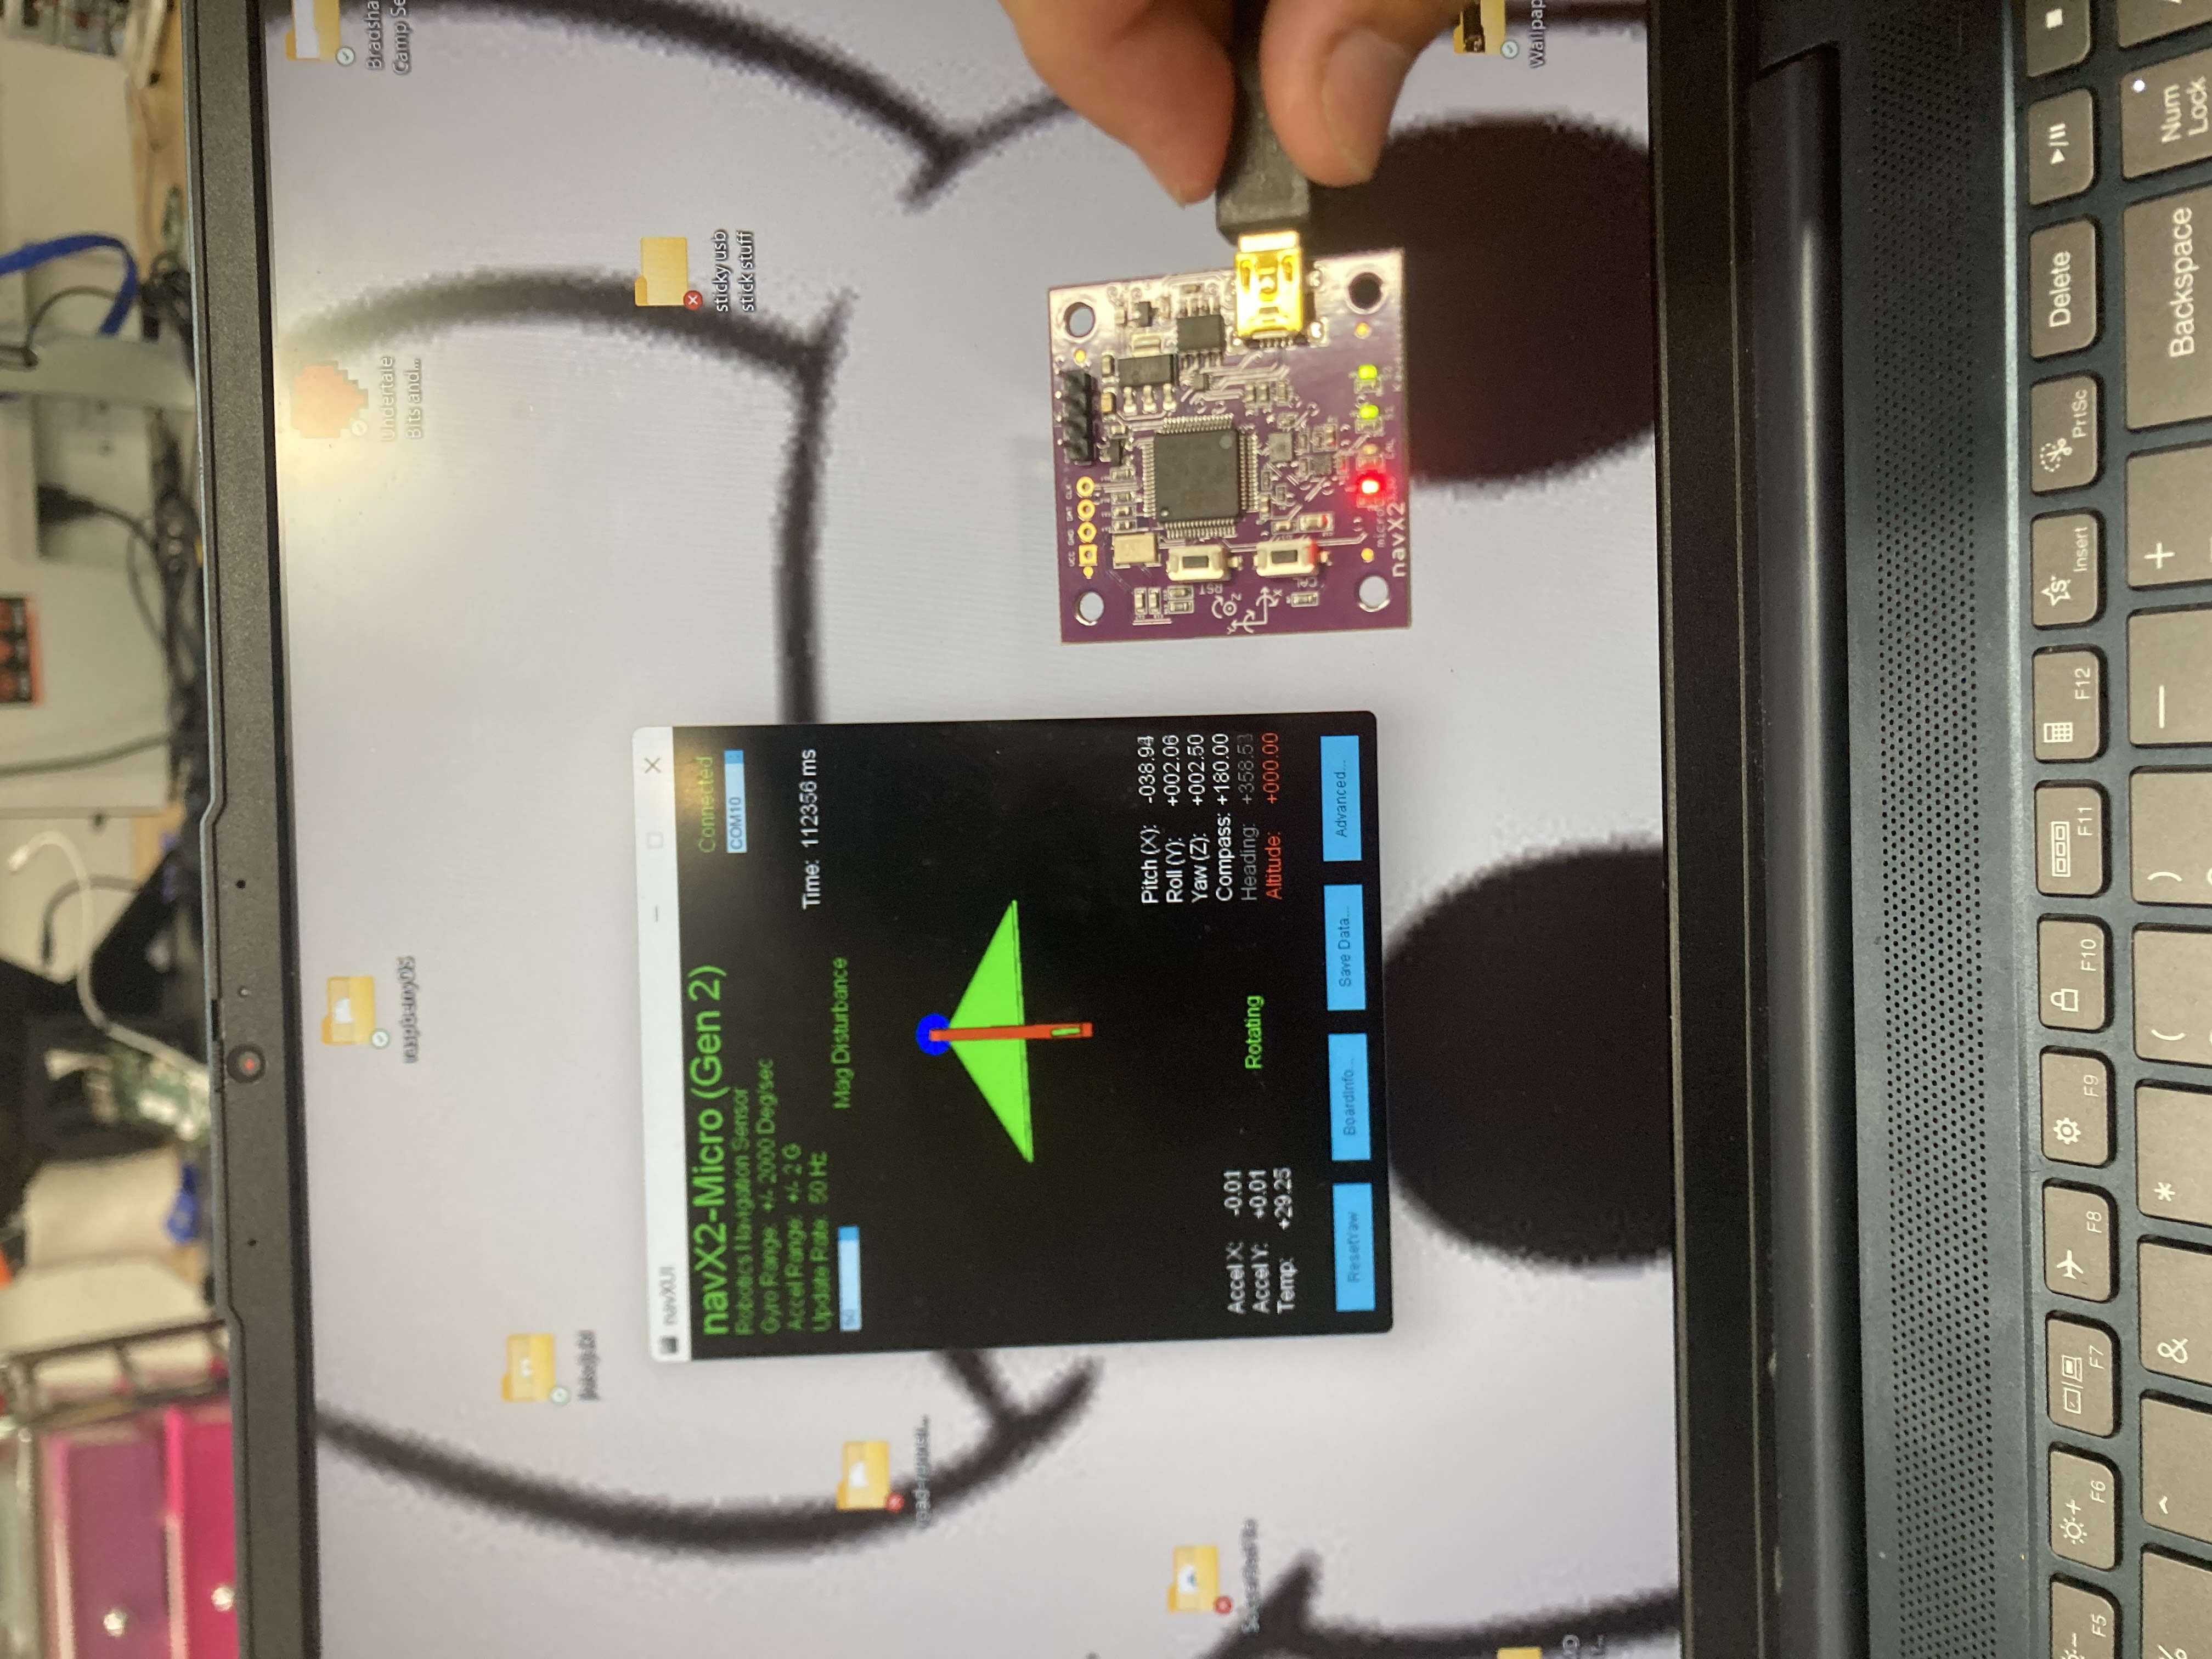
This is a calibrated NavX:
To calibrate the NavX, keep it still. Preferably you also brace it against a 90 degree angle somewhere, but holding it facing your laptop/screen also works.
Then hold down the “Cal” button and press the “RST” button. Hold it down until the calibration light turns off. You’ll also see it’ll disconnect and reconnect to your laptop, just wait for the Cal light to turn off and you’re set! There’s a video to show it below:
| Home Page | Table of Contents |